- What is Shock Indicator?
- How Much Force Can Trigger Shock Indicator?
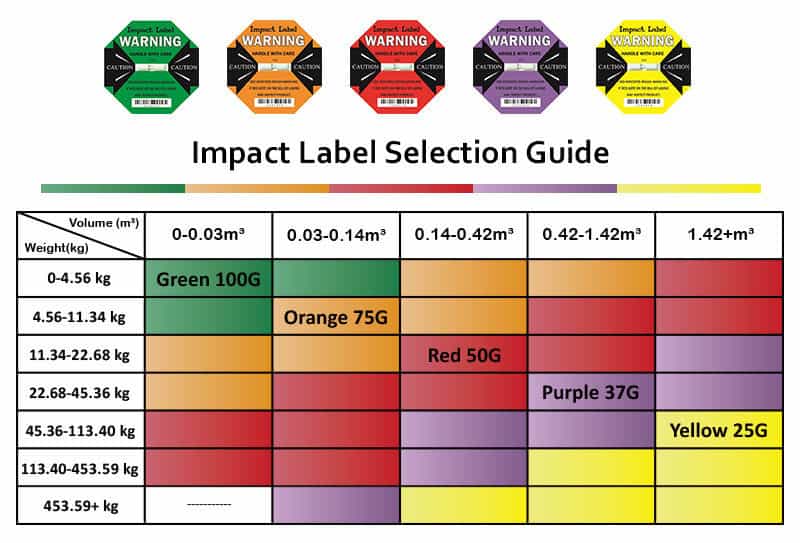
- Why Are These 5 Types of G Force Indicators?
- What is G-force?
- “G” in G Force Indicator Sticker
- How to Control the “G” of Shock Indicators?
- How To Verify “G” of G Shock Indicator?
- How do you use Shock indicators?
- G force indicator label is RED, what to do?
What is Shock Indicator?
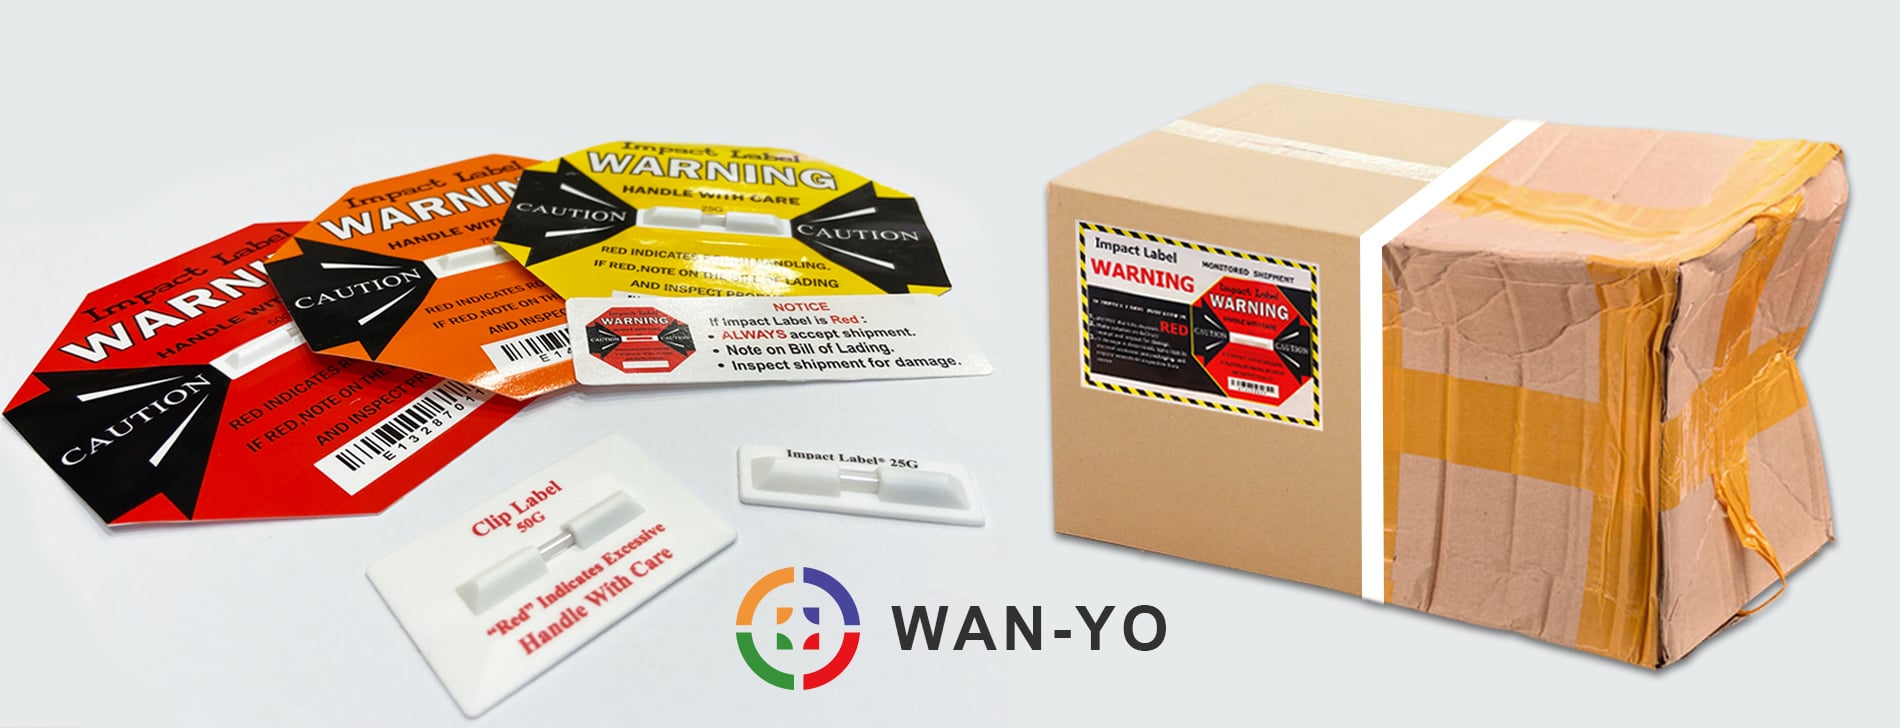
Shock sticker can indicate rougher handling than shippers expected. When the indicator turns red, it can alert the consignee to check the contents carefully.
A “G” always leaves behind the shock indicator. Some customers view “G” as gram, but in fact, the “G” is so-called acceleration. But what does the “G” exactly mean on the shock indicator? Let us take you to see around.
How Much Force Can Trigger Shock Indicator?
Each g shock indicator has a corresponding “G”, which means that when the indicator is subjected to a shock acceleration that exceeds the G value number, the indicator will start to become red. The larger the number is, the greater the shock force is required.
For example, the least sensitive 100G needs to be subjected to an impact force of more than about 100G, and then activated. 100G will be activated about over 90 cm; while the most sensitive 25G needs to be subjected to an impact force of more than about 25G, which is about more than 30 cm will be activated.

Drop Height For Activation
Through the following YouTube video, you can understand the approximate required impact force of each impact indicator model (25G, 37G, 50G, 75G, 100G).
Why Are These 5 Types of G Force Indicators?
Back in the 1970s, shock indicator has only 3 models – 25G, 50G, 100G. As the market developed, the model was not applicable for users because 50G was too sensitive but 100G was too insensitive and so is 25G and 50G, so they later launched 37G and 75G. After that, the above 5 types are not applicable for heavy equipment, 10G and 15G come to comply with market demands.
You probably have noticed only a few of 10G and 15G are in markets. The sensitive models cause product loss during transit. However, it actually are some ways to solve the problem by adjusting the packaging material and arrangement.
| 10G Impact Label Impact Indicator | 15G Impact Label Impact Indicator |
 |
 |
Looking for 10G/15G impact indicators?
| WRITE TO US | CHAT WITH US |
What is G-force?
The “G” in G-Force is the abbr. for “gravity”, which is the acceleration of gravity on earth and is presented as
|
Formula: g=9.8 m/s² |
Whether it is a car or a roller coaster when it comes to G-force, it’s all about the acceleration of cars. However, people frequently compare the volume of acceleration with the acceleration of gravity, and then there will be 1G, 2G, 3G and so.
 |
 |
For the relation between acceleration and force, we have to use the formula from Newton’s laws of motion, F=ma. “Force (F)” is equal to “Mass (m)” multiply by “Acceleration (a)”.
As acceleration is the same, the volume of force and mass of the object is proportional. All objects are subject to gravity on the earth, putting acceleration of gravity (g) into acceleration, the formula comes to F=mg which is the weight of the object.
“G” in G Force Indicator Sticker
Now, you have the concept. We can make a further discussion with the “G” in the g force indicator.
Let’s take 7ms(G): 50G for example. In general, the gravity acceleration of the shock force indicator will be accompanied by a time.
(1) 50G = 50*9.8 = 490 m/s^2 (acceleration)
(2) 490 m/s^2 (acceleration) * 7 ms (passed time)
(3) 490*0.007 = 3.43 m/s (convert to the speed at impact)
If a hard disk hits at a speed of 3.43m/s and then stops after 7ms, it will reach an acceleration of 50G.
If it hits an object at a speed of 3.43 m/s and bounces at the same speed (Newton’s law) and the elapsed time is also 7 ms, the acceleration of the hard disk is 100G.
Do you notice a simple principle? To put it simply, the g force indicator 50G means that it takes 50 times the acceleration g-force to activate the product and activate.
How to Control the “G” of Shock Indicators?
It depends on the product design. There are 3 types of them, physical design, structural design, and electric design.
Physical Design
Physical change uses the viscosity of the water drop to control the impact force.
The working is the same as the water droplets on the ceiling falling by slap or vibration. The tube is the ceiling and the water droplets are the red ink inside the tube aside. When you hit the tube by force, the red ink falls from the top and bursts out into another side of the tube.
Let’s challenge another way. What if we change the water droplets into peanut butter? To make it fall from the ceiling, you probably make a hard effort to make it drop.
Structural Design
Structural change uses the degree of elastic materials and weight to control.
The working principle is easy to imagine. You must see traps to hook the beast. When a beast steps forward to trigger the trap, was hooked and hanging up. A leaf is too light to trigger the trap.
Electric Design
The electric design uses a 3 dimension and g sensor to detect the force with an IC to record the impact.
How To Verify “G” of G Shock Indicator?
The verification of g shock indicator is to use the “accelerometer” for “G” value, which is commonly known as “G-SENSOR”, to read the G value at the start of g shock indicators.
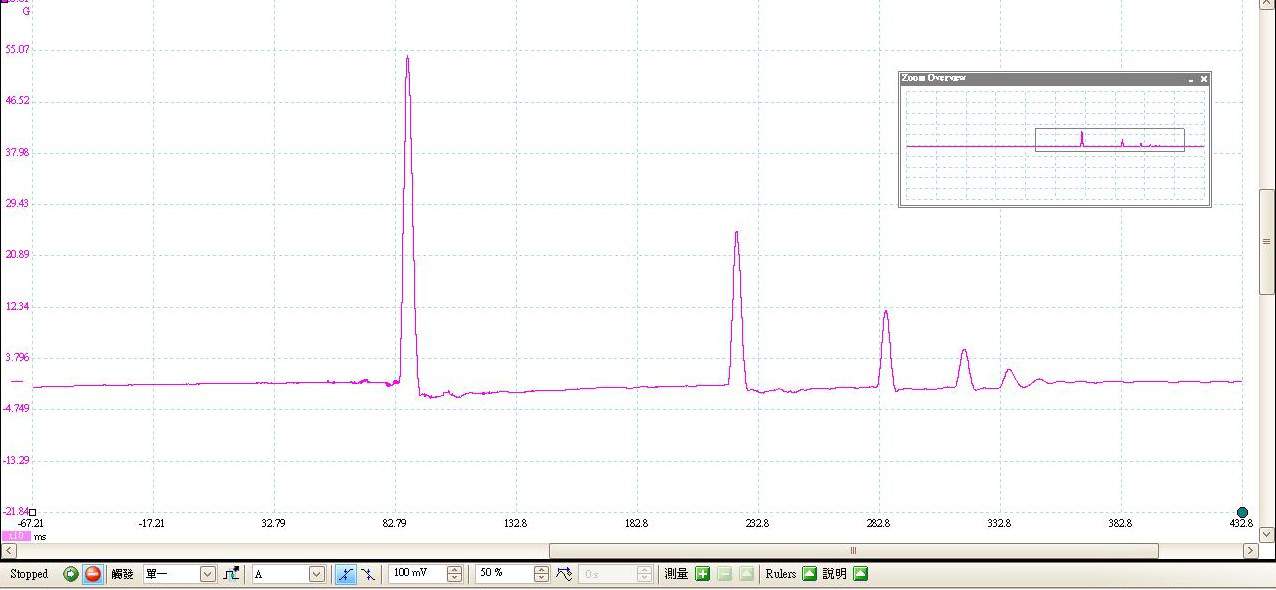
The accelerometer is widely used in various impact tests. Usually, the accelerometer will have the following data after one impact:
(1) G force
(2) Duration
(3) Frequency
The g shock indicator is to use the value read by the accelerometer to analyze and verify whether the functionality is within the specification range ±15%.
Have More Questions About G Shock Indicator?
How do you use Shock indicators?
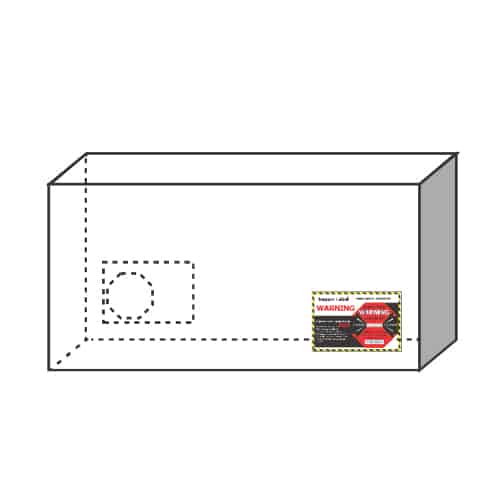
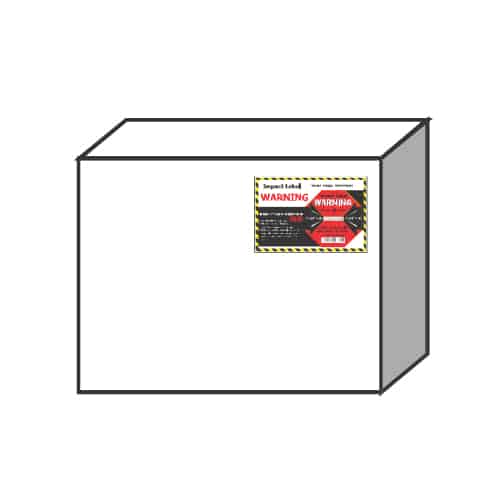
1. Peel and paste the companion label onto the correct placement of carton. (See Below)
2. Rip off the label and paste it into the companion label.
3. Stick the small warning sticker on the bill of lading.

The indicator is triggered only if absorbs the set g force, as a result, the placement of each indicator affects the accuracy of the indicator. The key points are the size of the shipment.
For Big shipment which can’t be handled by hands, apply 2 pieces at the bottom corner complementarily.
For Small shipment which an be handled by hands, apply 1 piece at the top corner.
 |
 |
|
Big Shipment |
Small Shipment |
A few tips to take more effective detections.
1. Paste labels on the hardest place, as near as a corner.
2. Paste labels on the point which is impacted or hit the most.
3. Directly paste labels on the outer package.
|
✔️ on carton |
❌ on packaging film |
|
✔️ hardest corner |
❌ soft middle section |
G force indicator label is RED, what to do?
You’re the customer:
1. DO NOT REFUSE THE SHIPMENT.
2. Note RED on the bill of lading or receipt.
3. Inspect the product immediately. If damaged, contact the supplier.
You’re the supplier:
1. Ask the customer to note on a bill of lading and inspect the goods
2. Discuss with the customer, a replacement or refund.
3. ASK REPORT FROM THE CARRIER and IMPROVE THE SHIPPING.
You could prevent RED indicator and damage in a more effective way, how to make it?
Read More
 |
How to Maximize Utility of the Shock and Tilt Indicator? – 4 Key Points The purpose of using a shipping damage indicator is to reduce cargo damage for shippers, no matter improvement of handling quality and costs. However, the shock and tilt indicator is just a sticker because of the wrong way to use it. |
這篇內容同時也提供 [繁體中文] 版。


